Drying and curing your weed is the key to having a final product you can brag about. Once you’ve plucked your plant, it starts breaking down, so it’s crucial to follow these steps fast to keep your buds from going bad.
Terpenes, which give your buds their unique flavor and smell, are a bit sensitive, and the environment plays a big role. Keep the temperature and humidity in check to save those terpenes!
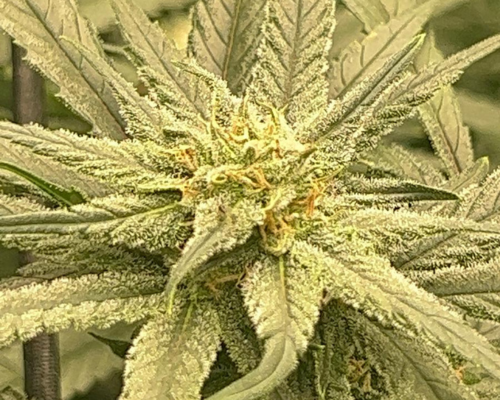
Harvesting Cannabis
First things first, pick those female plants when THC production is peaking. Not all buds mature at the same time, so the ones up top are usually ready before the lower ones. To know if they’re good to go, check the pistils – those tiny hairs on the buds. When 80% of them turn red, it’s a sign to harvest. For a more accurate check, use a cheap microscope. Look for trichomes, little resin glands that start clear, then get cloudy (that’s peak THC), and finally turn brownish-red. Harvest when most trichomes are cloudy.
Trimming
Now, trimming is all about making your buds look good and smoke even better. Get rid of those harsh-to-smoke fan leaves right after harvest. The smaller “sugar leaves” can be removed before drying (wet trim) or after drying (dry trim). Save the sugar leaves for making butter or tinctures if you’re into that. If you’re making edibles or resin, you can be a bit lenient with the sugar leaf trimming.
Drying
After the fan leaves are gone, you’ve got a few drying options. You can hang the whole plant, hang by individual branches, or take buds off and let them dry on a rack. Where you dry them matters too – it should be a cool, dark, and enclosed space. Don’t rush it; drying slowly is key. Aim for 45-55% humidity and 16-21°C. Let them dry for 7 to 10 days until the stems snap, not bend. Avoid using a dehumidifier or heater; a small fan to circulate the air is fine.
Curing Cannabis
Drying reduces the risk of mold, but it’s not the finish line. Curing is a crucial step. It gives chlorophyll more time to break down and lets cannabinoids do their thing. Your weed is smokeable now, but it might be a bit harsh. Throw the dry buds into an airtight container. If you dry trimmed, do it before. Over time, the buds release CO2 and moisture, so “burp” your containers daily by removing the lid. Keep an eye on humidity (55-65%) and keep it below 20°C. After 3-4 weeks, the grassy smell should fade, and your weed will taste much better.
Storing Cannabis
When it comes to storing your cannabis, keep an eye on the humidity, temperature, airflow, and light. All these things can mess with your stash if you don’t pay attention. Check out these tips for finding the perfect storage spot:
- Humidity: Your cannabis likes it best when the humidity is between 59% and 63%. Too much moisture? That can lead to mold and bacteria, making your stash taste funky. But if it’s too dry, those tiny trichomes with all the good stuff can break down, and your weed might lose its flavor. Use a hygrometer to check how much moisture is in the air.
- Temperature: Keep it cool! Warm air has more moisture, and we don’t want that. Aim to store your cannabis below 25°C. The sweet spot is between 19ºC and 21ºC for keeping your dried flower fresh.
- Airflow: Oxygen is tricky, but too much of it can speed up the aging process of your stash. On the flip side, too little oxygen can mess with humidity, especially if your cannabis isn’t super dry. Choose a container that seals tight and fits your stash just right – don’t stuff it full.
- Light: The biggest villain here is light. It can mess with your cannabis, making it go bad faster. So, keep your weed away from direct sunlight. Use a container that’s dark or made of UV-blocking material to shield your stash from the light.
Follow these simple tips, and your cannabis will stay fresh and ready for a good time. Cheers to responsible enjoyment!